Repurpose with Style: Wine Cork Furniture Pads


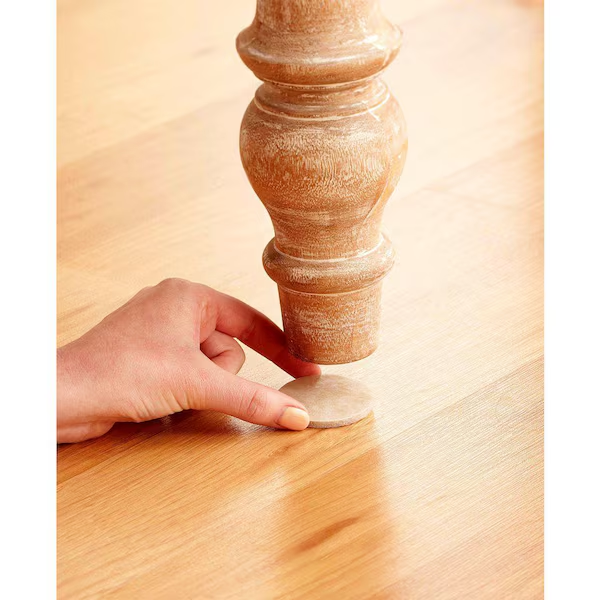
Repurposing old wine corks into furniture pads is a simple and stylish way to protect your hardwood floors while adding a personal touch to your home. Instead of throwing away those leftover corks, you can easily transform them into durable, cushioned pads that prevent your furniture from scratching or denting the floor. To start, gather enough corks to cover the legs of your furniture, then carefully slice each cork into thin, even discs using a sharp knife or box cutter. Sand the edges of the discs to ensure a smooth, polished look. Apply a small amount of strong adhesive to one side of each disc and press the discs firmly onto the bottom of your furniture legs, holding them in place for a few seconds to ensure they stick well. Allow the adhesive to dry completely before moving the furniture.

This DIY project not only reduces waste but also gives your furniture a unique, custom look. You can even get creative by painting the corks, using patterned cork sheets, or adding a layer of felt between the cork and the furniture leg for extra cushioning. Repurposing wine corks into furniture pads is a quick and easy way to protect your floors and infuse your home with a bit of personal flair. Plus, each time you glance at those corks, you’ll be reminded of the enjoyable moments spent with each bottle of wine, making this a functional and sentimental addition to your decor. It’s a fun, eco-friendly project that combines functionality with style, showcasing your creativity and commitment to sustainability.

Guide to Hardwood Flooring Maintenance

Hardwood floors are a prized addition to any home, providing warmth, beauty, and value. Yet, to maintain their elegance over time, proper care is essential. In this guide, we’ll explore effective maintenance strategies to ensure your hardwood flooring remains pristine for years to come.

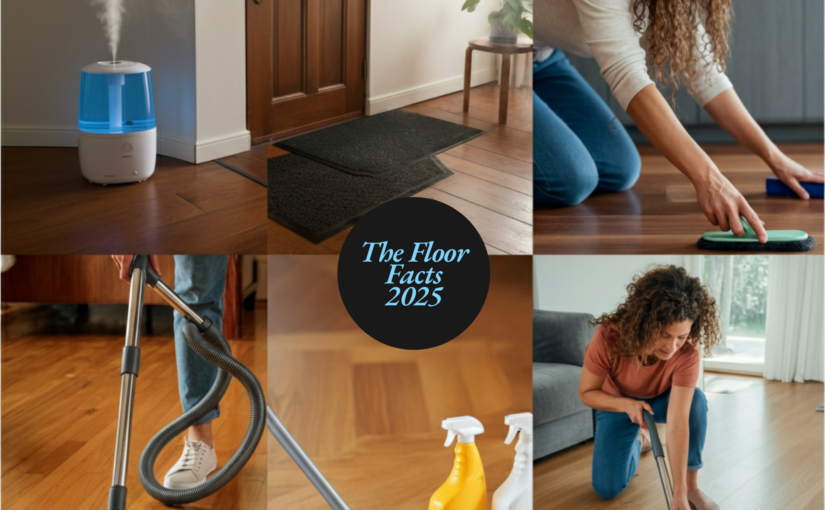
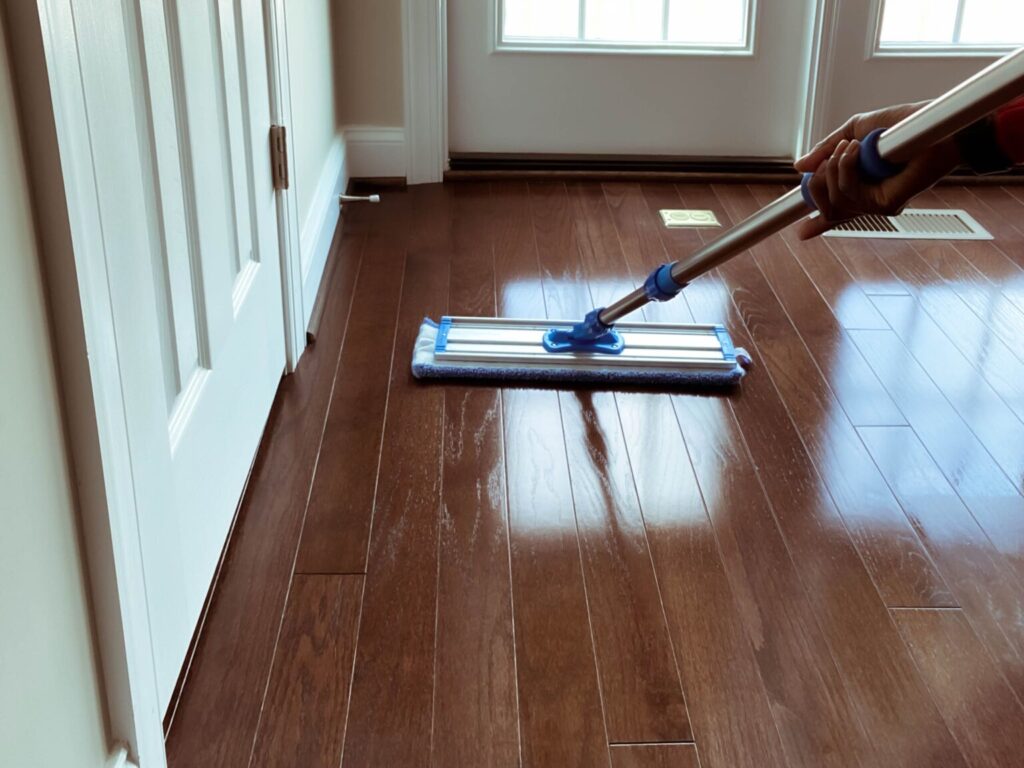
Regular maintenance is key to preserving hardwood floors. Sweep and dust regularly with a soft-bristled broom or microfiber mop to remove surface dust and debris, preventing scratches and preserving the smooth finish. Vacuum weekly using a hardwood-specific attachment to lift fine particles from crevices and between floorboards, maintaining cleanliness and preventing long-term damage.

Using appropriate cleaners is crucial to avoid damaging the finish. Choose products specifically formulated for hardwood, avoiding vinegar, ammonia, or excessive water. Promptly address spills and stains with manufacturer-recommended stain removers, maintaining the aesthetic appeal and durability of your hardwood flooring.

Protect your hardwood floors by attaching felt pads to furniture legs to prevent scratches and marks. Place rugs or mats in high-traffic areas and entrances to reduce dirt and debris contact with the floors. Encourage household members and guests to remove high heels and sports cleats before walking on the floors to prevent dents and damage.

Control sunlight exposure with curtains or blinds to prevent fading and discoloration of hardwood floors. Periodically rearrange furniture and rugs to distribute wear and light exposure evenly, preventing discolored patches and maintaining the floor’s appearance.

Maintain humidity levels between 30-50% to prevent warping or splitting of the wood. Use humidifiers or dehumidifiers as needed to stabilize humidity levels and protect your floors. Consider professional refinishing every 3-5 years to address deeper scratches and wear, revitalizing the floor’s original beauty and durability.

For minor scratches, use matching wood markers or wax pencils to fill in imperfections seamlessly. For deeper scratches and gouges, use wood putty or professional touch-up kits to fill damaged areas, maintaining the floor’s structural integrity and aesthetic appeal. With these simple tips, you can ensure your hardwood floors remain stunning and durable for years to come, enhancing your home’s aesthetic and value.

Maintaining the Squeaks and Creaks of Your Hardwood Floors

Part of your house maintenance should include a yearly spring/summer inspection of your home’s structural quality. Think about everything that has happened this past year. How many pitter-patters of big feet, little feet and four-footed creatures have crossed your floors this past year? How many times has something spilled on your floor? Has your house had any temperature changes?

Daily living creates wear and tear on hardwood floors, whether we notice it or not. Sure, some nicks and scratches produce “character” in the wood, but over time structural damage can occur as well. You might imagine that those squeaks and creaks are only visits from the local friendly ghost, but there is a chance that your floor is telling you it’s time for some structural repairs. (If it is a ghost, at least it won’t do much damage to the floor.)

Squeaking, creaking floors indicate that there is likely a loose floorboard or two. To make sure everything is in place, look around the floor for any surface nails that aren’t flush to the floor. If nailing them to the surface doesn’t stop the squeaking, drive the nail slightly below the floor using a “nail set” to drive the nail in so you don’t add hammer marks to your floor’s character. (A nail set is simply a small nail shaped object that you place on top of the nail head to drive it in. The hammer bangs the nail set rather than the nail in the floor.) Alternatively, or if your hardwood floor doesn’t have surface nails, you can tighten the floorboard by driving in two nails, opposite each other, each at an angle that drives the nail towards the other and into the floor joist. If you can get under your floor, you can take the easy way out and simply put a wedge in between the loose board and the floor joist.

If you have gaps between your hardwood floor that are no larger than ½ inch, you can buy a wedge-shaped “fillet” of wood to insert in the gap, pound in and sand down. Unfortunately, if your floor is sagging, you’ll need to raise the floor with a metal column – or put in new floor joists. If your floors aren’t sagging – keep tabs on the moisture levels in your home and protect your wood with sealer.

There’s hardly any harm in a visit from a friendly ghost; but loose floorboards, gaps and sagging floors might not be so friendly to your feet. (Especially if you fall through to the basement floor.) A once a year maintenance check can keep your floors in shape and your family’s pitter-patters running safe without a squeaking, creaking sound.

How to Clean Hardwood Floors – 1.2

A popular new addition to many households throughout the country nowadays is hardwood flooring. It is reliable, elegant and seemingly easy to maintain. What people fail to recognize though, is that hardwood flooring must be treated properly if it is expect to last. Thus, when it comes to cleaning hardwood flooring, one must know the proper steps to take to get a satisfactory result without damaging the flooring.

The first thing that must be done is to create preemptive steps to make sure your hardwood flooring doesn’t get ruined. Place walk-in mats at doorway entrances to make sure particles of dust are collected and don’t ruin your expensive flooring. These act as “sandpaper” and over time will grate your floor. Most hardwood floors can be used on with a good swindel sweeper mop and quality wood floor cleaner. Do NOT use anything that might scratch or ruin your floor, such as steel wool to scratch out stains. Quality cleaner and an efficient mop should always do the job. If it is an extreme case such as spilled paint, you must learn more information on how to remove it. Yet in that instance, you would want to use paint remover.

Floors with a urethane finish should NEVER be waxed for it’ll ruin the floor. You could use a small cloth to wipe out pesky spots, alongside with good cleaner. Make to sure to minimize contact with water to your hardwood floor. Seeing as it is still made of wood, if something such as a spill or a flood happens, immediately get the water out of there. Something drastic as a flood might permanently ruin your flooring and cause you to replace it.

If it seems like your floor is beyond cleaning and repair, you might have to take things to a whole another level. For one, you should consider screening and recoating. Screening the hardwood floor will allow you to remove the old layer of coat and paint, and recoating will let you put on a new one. Its like taking off a bad cover and replacing it with one better.

If your hardwood floor is damaged with cuts and cracks, it might be time to replace it. You could try to fix the solution by filling up the cracks with chestnut glue, when if properly placed might result in an illusion effect. This might be a temporary fix-up, or a permanent one depending on how much you care about the look of your floor. If its in a hard to reach corner, you should probably not worry about it. But many scratches in the middles or near the doorway of a floor will probably just look bad on you and you’ll most likely have to swallow your pride, unloose your purse strings, and get a new floor.

Another thing you must avoid is overexposure to sunlight. Over time the UV rays will make your floor look dried up and shriveled. When you leave your household, make sure to close your blinds when light is unessecary. Another problem might be scuffing by furniture. When you are moving furniture around make sure to cover the legging with some kind of protective cloth as to make sure your floor doesn’t get ruined.

The more time and effort you put into making your hardwood floor look good, and making sure it doesn’t get ruined, the longer it will last you. Per say if you do a good job, it just might last you a century! And really, those extra little things add to you avoiding to have to spend thousands on replacing your flooring. After all, its much easier to keep and maintain than carpet, and looks better to. Be happy you don’t need a heated cleaner to take out that wine stain, yet instead can just wipe it right off!