As summer heats up in Chicago, homeowners across the city are opening windows, hosting gatherings, and kicking off home improvement projects. One area that deserves special attention? Your hardwood floors. Beautiful, timeless, and durable—yes—but Chicago’s summer weather can create unique challenges and opportunities when it comes to hardwood flooring.
In this seasonal edition of The Floor Facts – Hardwood Flooring Chicago Flooring Guide, we’ll explore how to maintain, protect, and enhance your hardwood floors during the summer months.
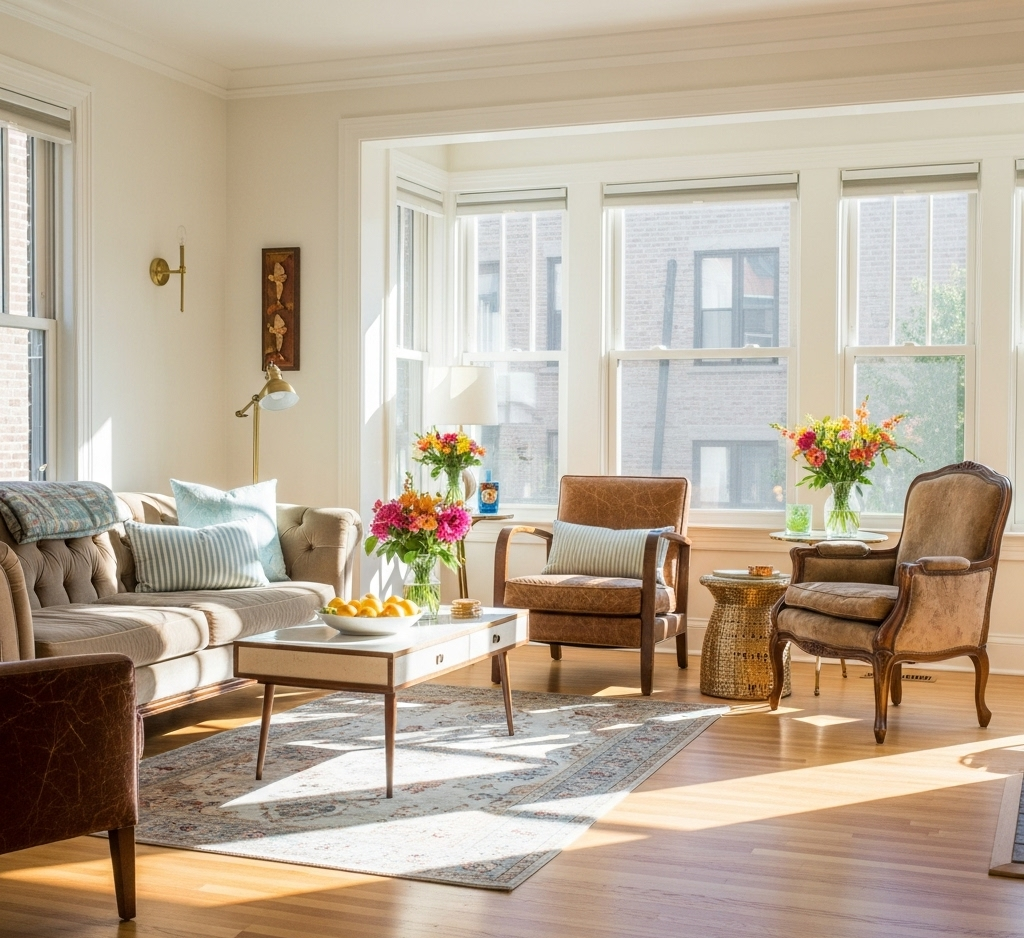
Why Summer Matters for Hardwood Floors
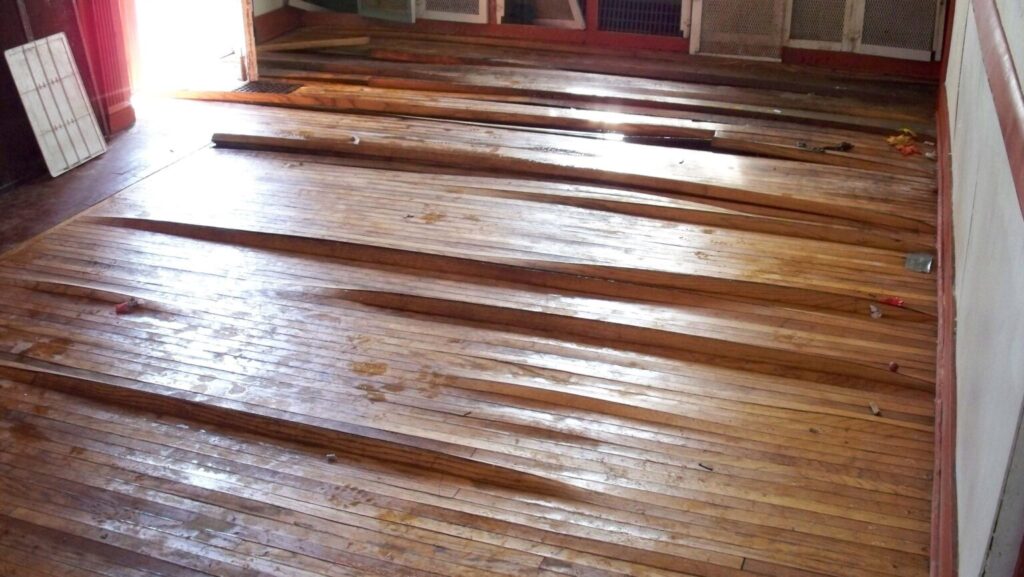
Humidity Control Is Key
Chicago summers are known for their humidity, which can cause hardwood floors to expand and cup. To avoid warping or buckling, keep indoor humidity levels between 35–55% using a dehumidifier or running your AC efficiently.
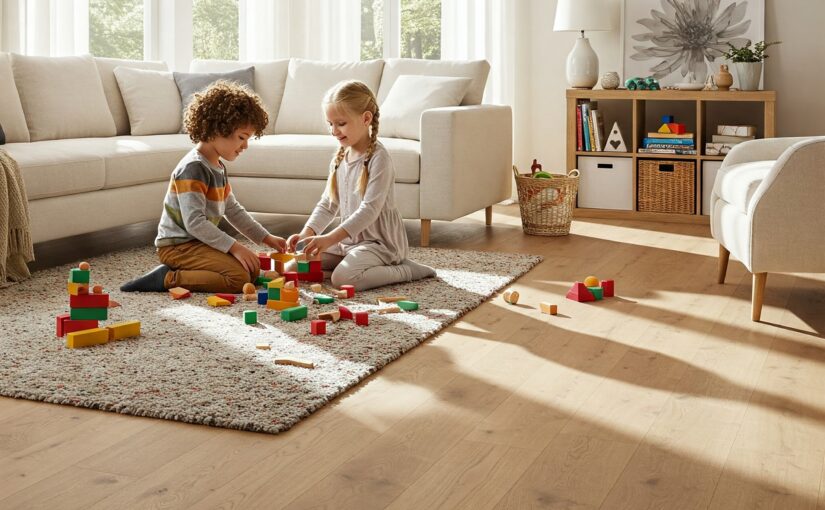
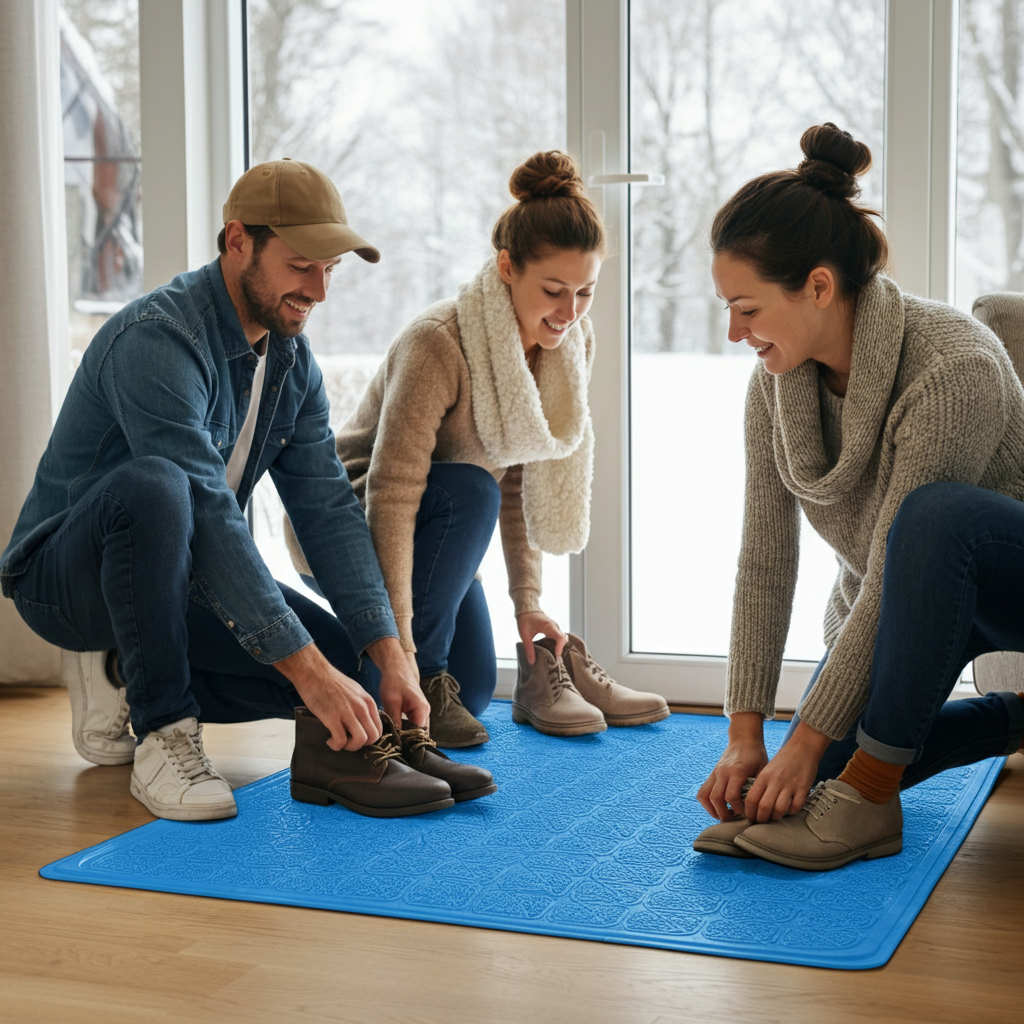
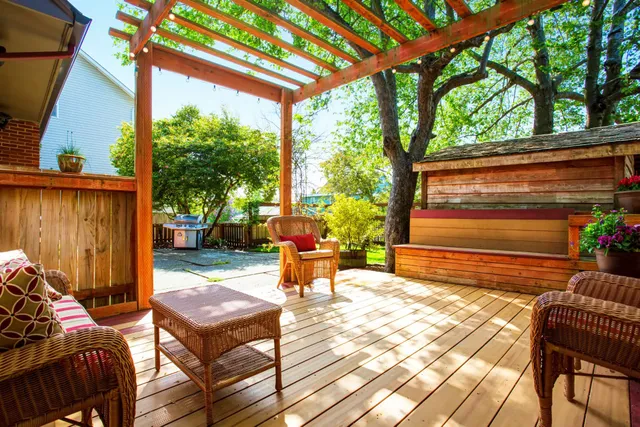
Increased Foot Traffic = More Wear
Summer means more guests, more outdoor activities, and more dirt getting tracked in. Sand, gravel, and moisture can scratch or dull your hardwood surface. Place entry mats at all doors and establish a “no shoes” policy to reduce impact.
Sunlight Can Fade Finishes
Direct sunlight can bleach or discolor wood over time. Protect your investment by using blinds, curtains, or UV-filtering window films—especially for south- and west-facing rooms.
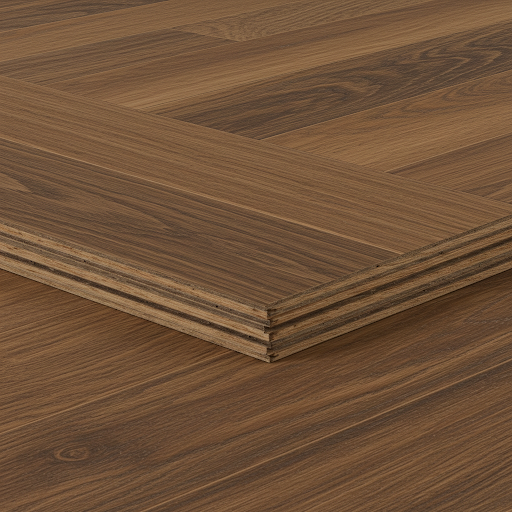
Top Summer Hardwood Flooring Ideas for Chicago Homes
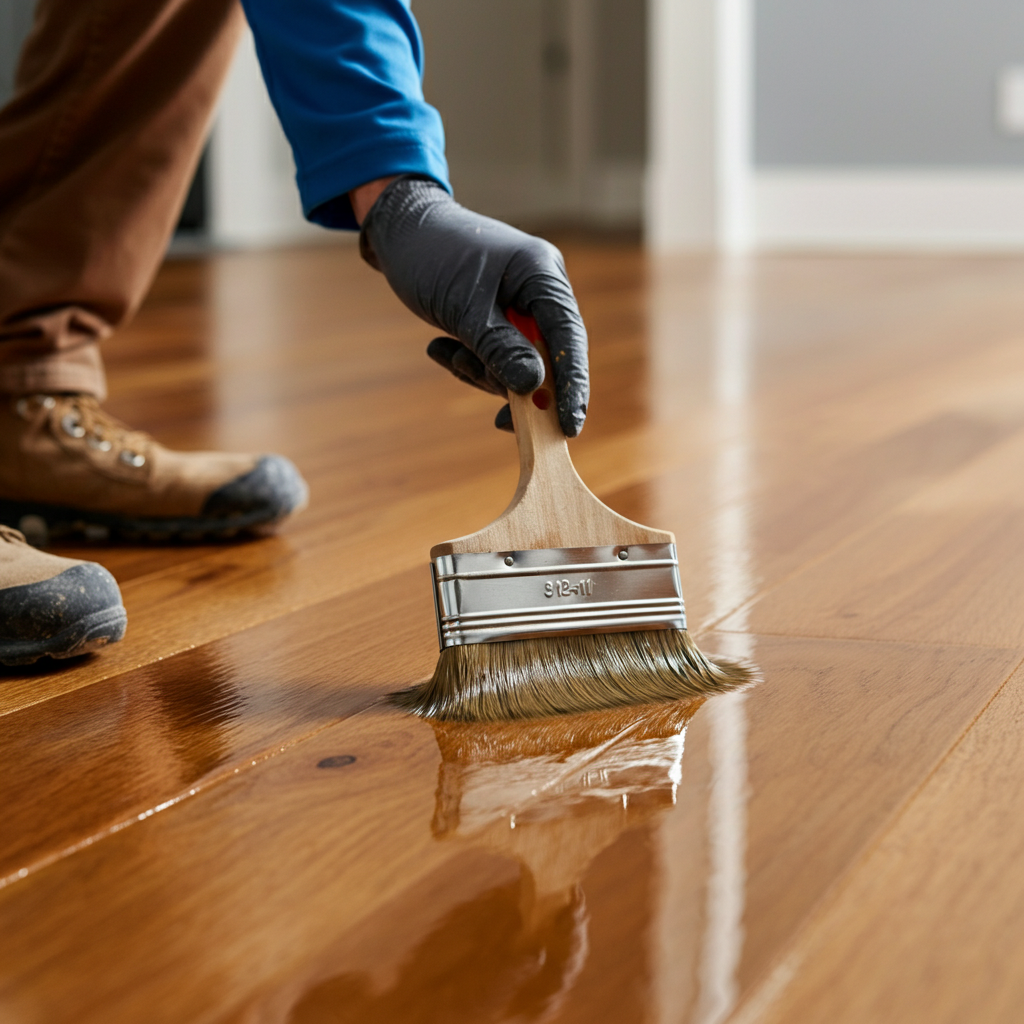
- Refinish During Warm, Dry Weather
Summer offers ideal conditions for refinishing hardwood floors. The warm temperatures and lower risk of moisture intrusion allow finishes to dry and cure evenly. If your floors look worn or scratched, this is the season to restore their beauty.
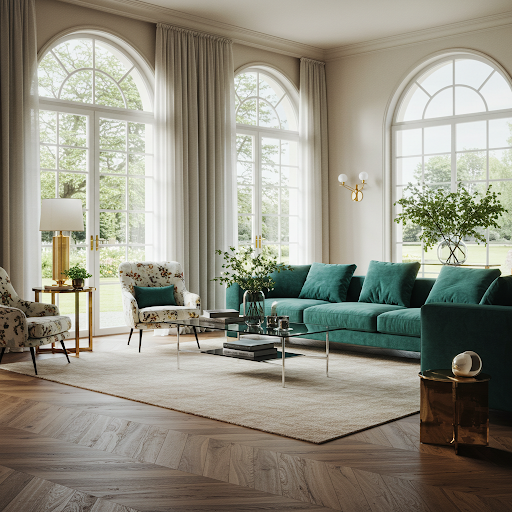
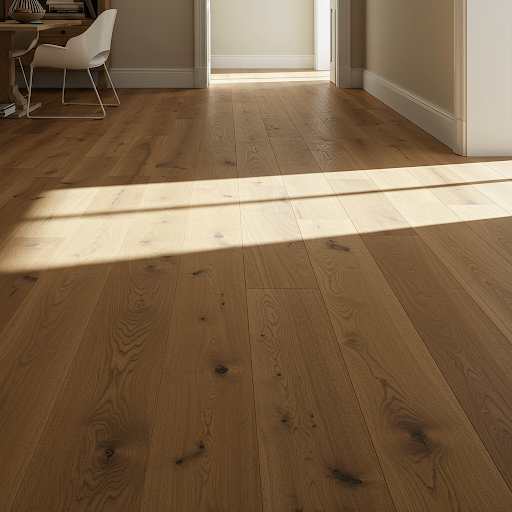
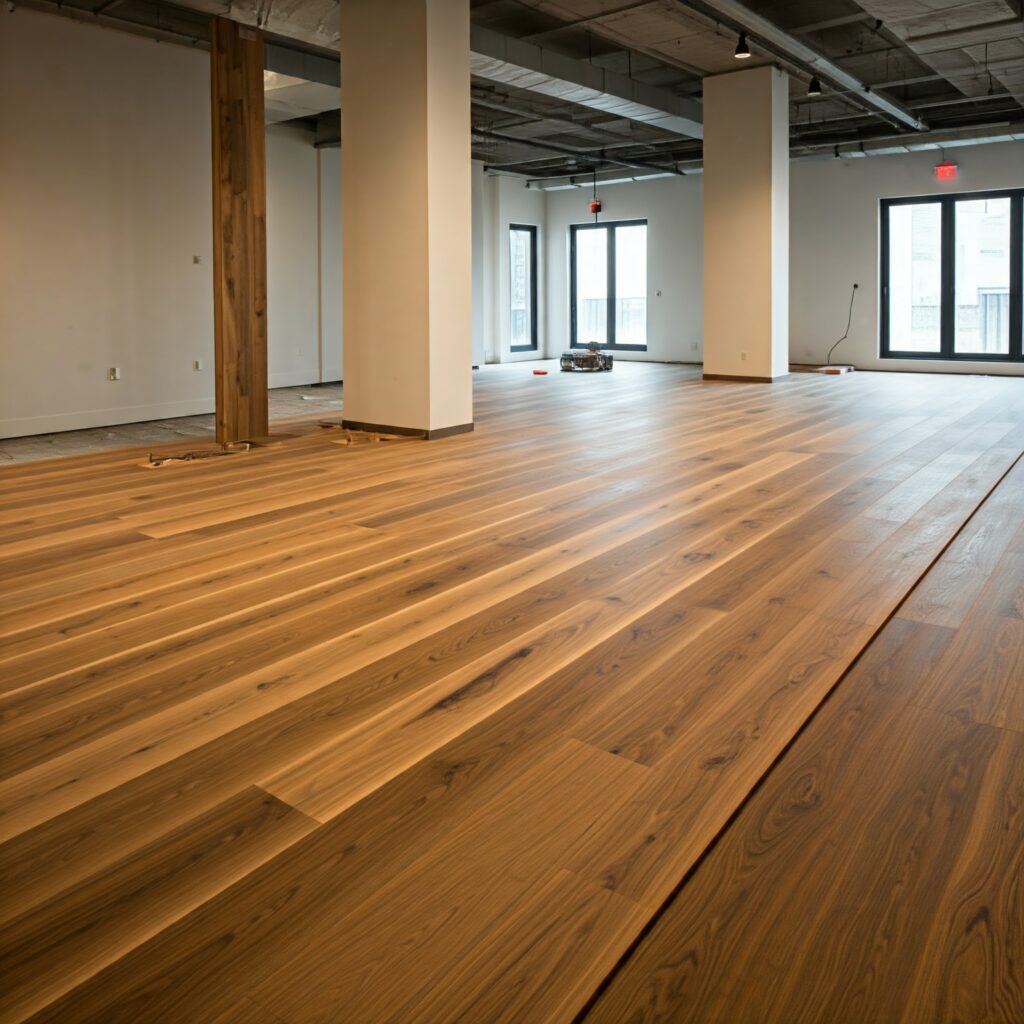
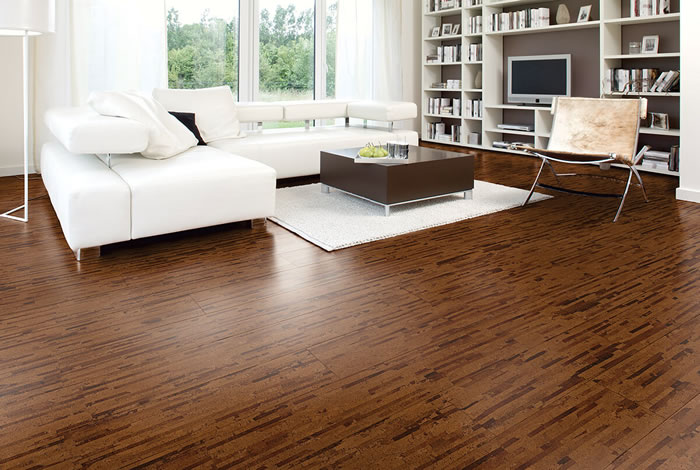
- Switch to Light & Natural Tones
Want a more airy, summer-inspired look? Lighter stains and matte finishes are trending—and they reflect natural light better, making rooms feel more open and cool. Many Chicago homeowners opt for white oak or maple during summer remodels.
- Engineered Hardwood for Climate Flexibility
For homes without central climate control or in condos with varying humidity, engineered hardwood is a smart option. It’s more resistant to moisture and ideal for high-rise living or lakefront properties in Chicago.
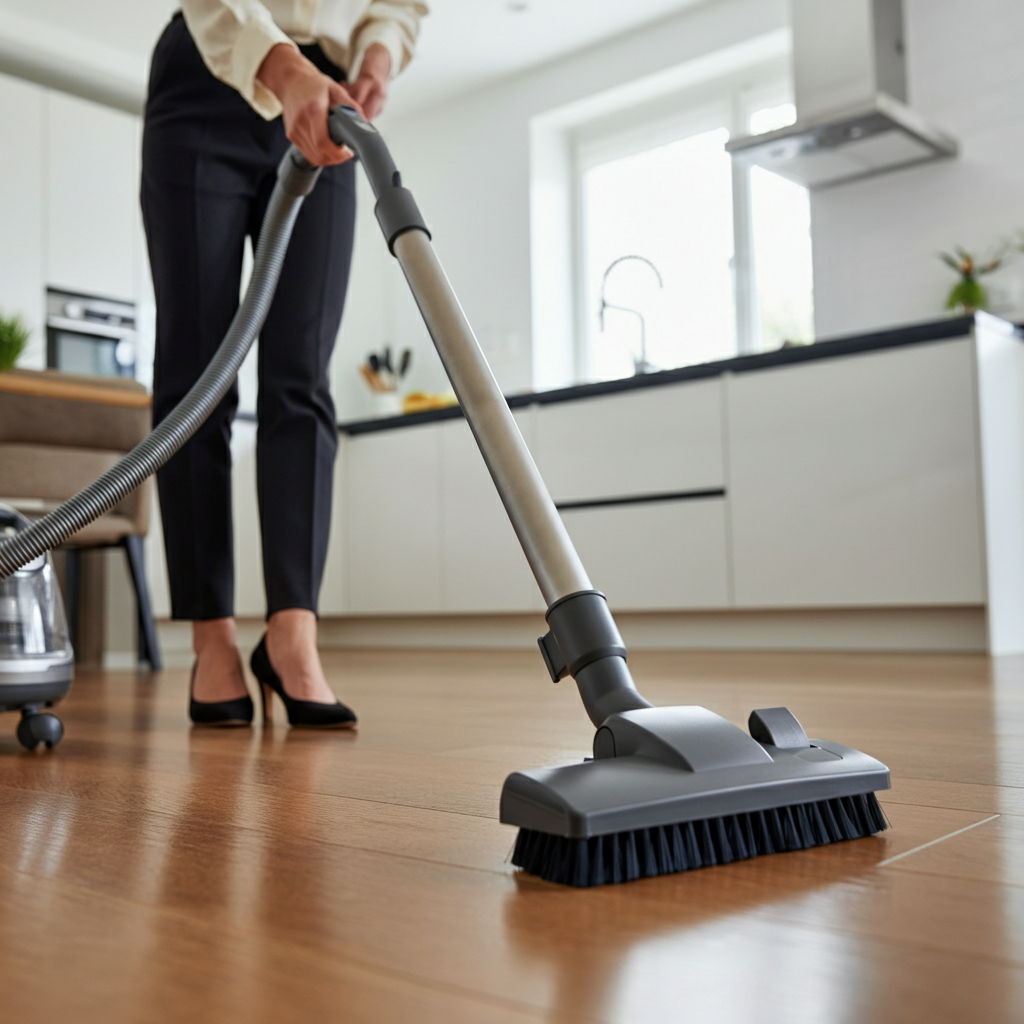
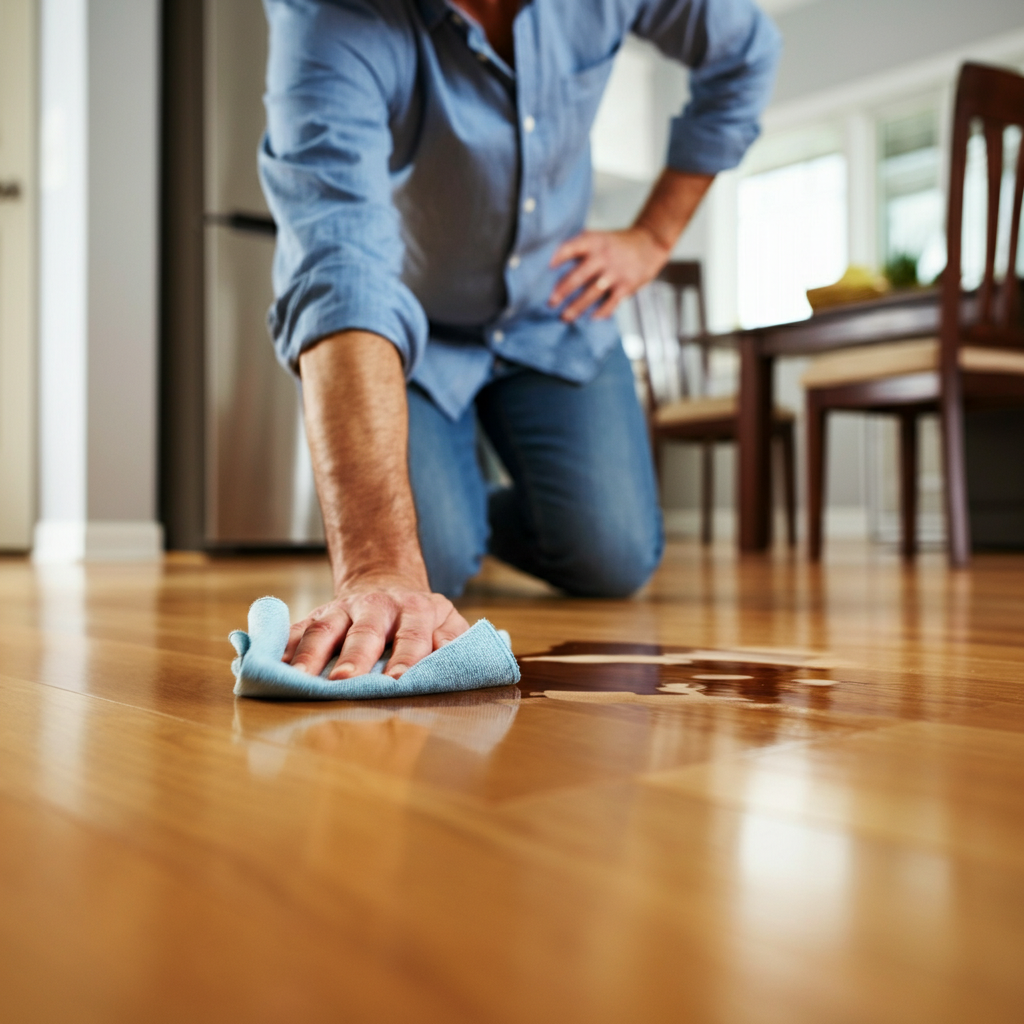
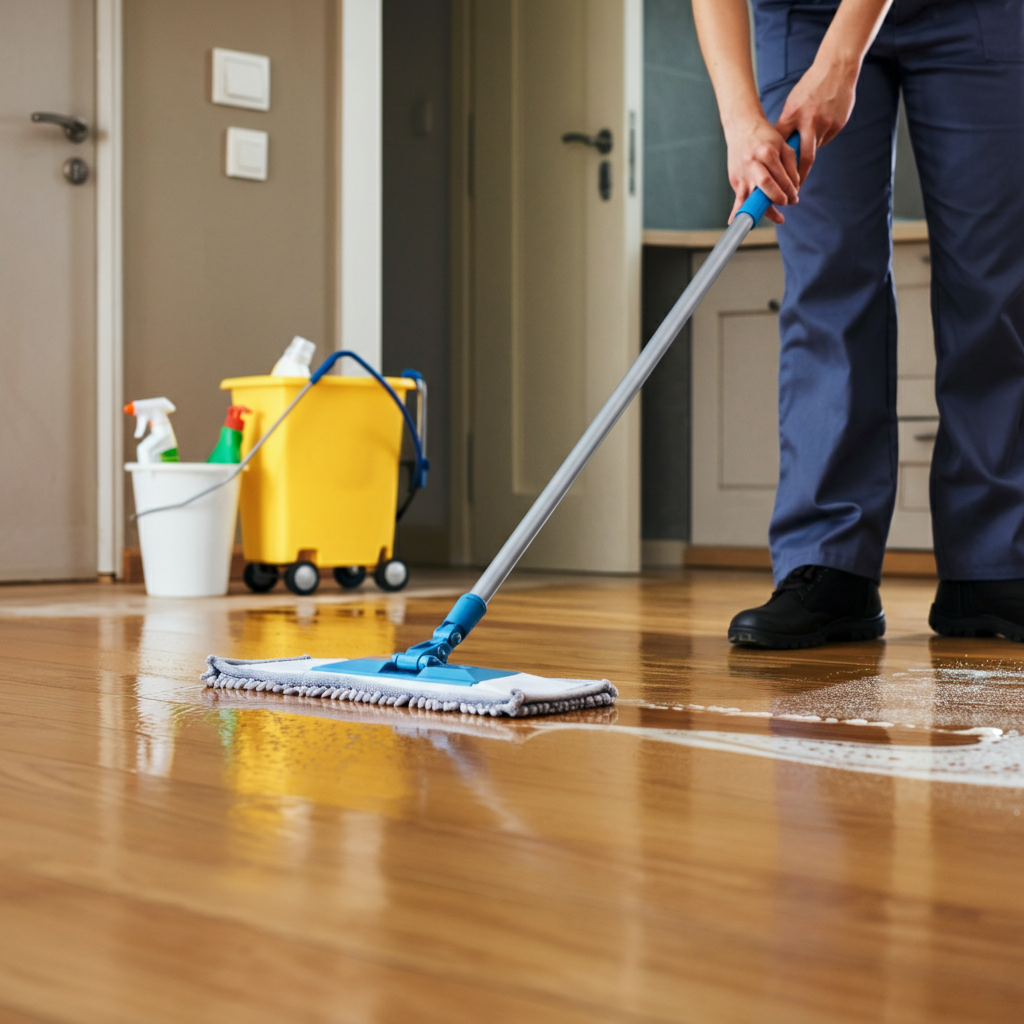
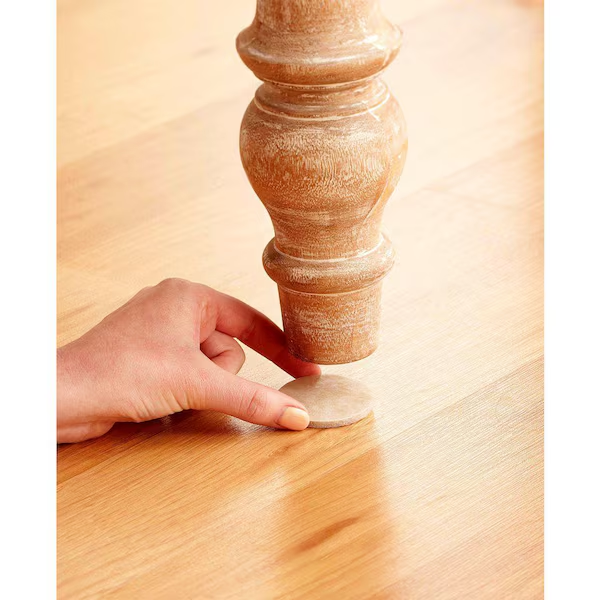
Care & Maintenance Tips for Summer Floors
- Sweep regularly to remove sand, dust, and allergens.
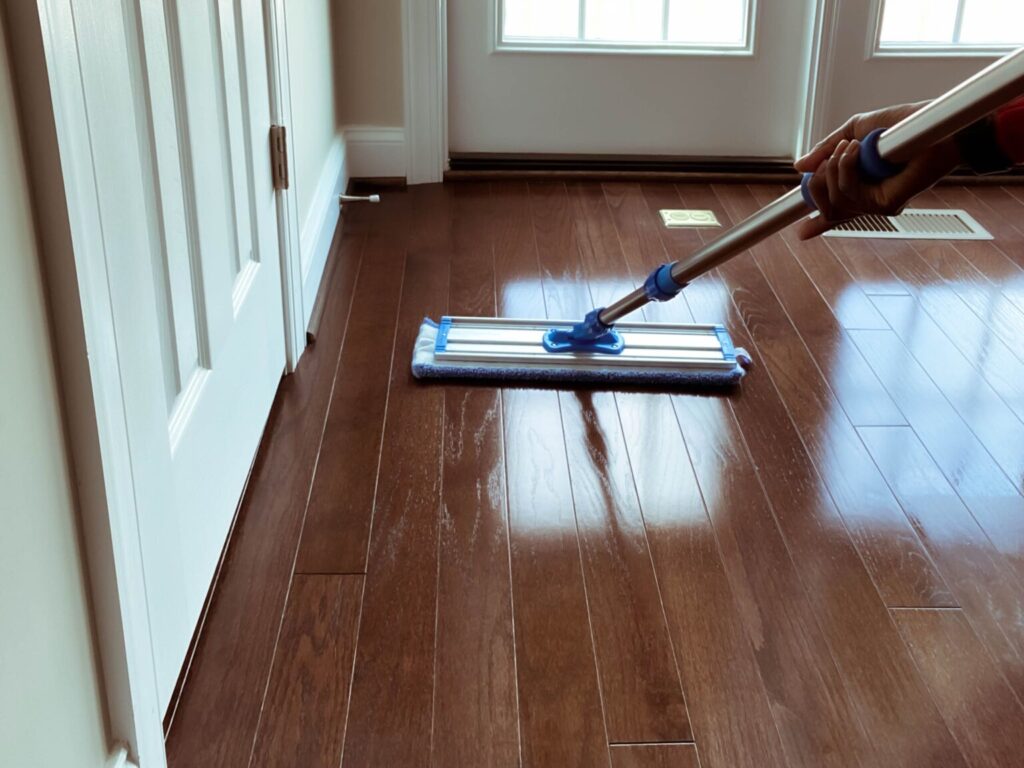
- Avoid wet cleaning—use a lightly damp mop and hardwood-safe cleaner.
- Rotate rugs and furniture to prevent uneven fading.
- Use fans or a dehumidifier in basements or lower levels where humidity lingers.
Planning a Summer Remodel? Choose Wisely
If you’re considering installing or replacing hardwood this summer, work with experienced flooring contractors familiar with Chicago’s climate. Summer is the perfect time to install because wood acclimates better, and construction schedules are more flexible.
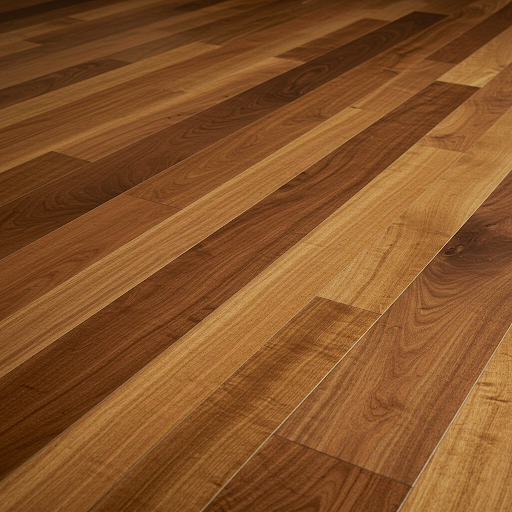
Popular summer-friendly species:
- White Oak – light, neutral, and durable
- Hickory – rustic and tough for busy households
- Bamboo or engineered options – sustainable and moisture-resistant
Keep Your Floors Cool, Clean, and Summer-Ready
Hardwood floors add lasting value and beauty to your Chicago home—but they need seasonal care to stay at their best. Whether you’re refreshing an older floor, planning a full remodel, or simply maintaining your space during the summer heat, this guide has you covered.
The Floor Facts – Summer Hardwood Flooring Guide for Chicago, IL is your seasonal resource for smart decisions, beautiful upgrades, and expert floor care advice. Protect your investment. Keep it shining. Let your floors reflect the best of summer.